Tags
amber fossil, Anthropologie, Anthropologie knobs, black lacquer paint, black lacquered dresser, casual encounters, Craigslist, craigslist gigs, DIY, DIY dresser, dresser pulls, Grand Master Plan, high gloss lacquer, high gloss paint, knobs, polyurethane gloss, wolf tshirt, World of Warcraft
First of all, thank you for waiting so patiently for me to go into details on my “Grand Master Plan.” It is now officially in motion. I plan on it being my lifelong career and I’m confident it will be fulfilling. Mostly, if…WHEN…it works, I’ll be so proud to have something that will allow me to work for myself, have income, and allow me to travel. You can exhale a little bit now. You’re welcome.
Anyway, I completely forgot to tell you about a project I did several months ago. I wouldn’t exactly call it a complete success (which I can say for a lot of my projects), but it’s a darn good amateur try.
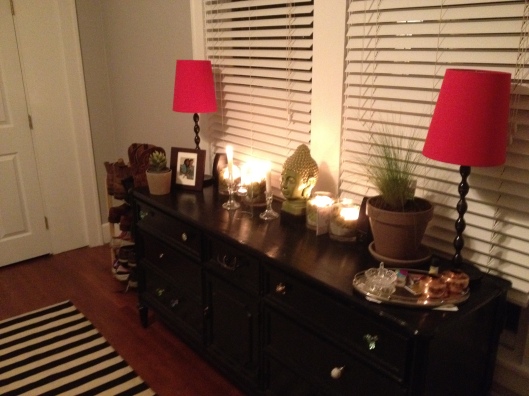
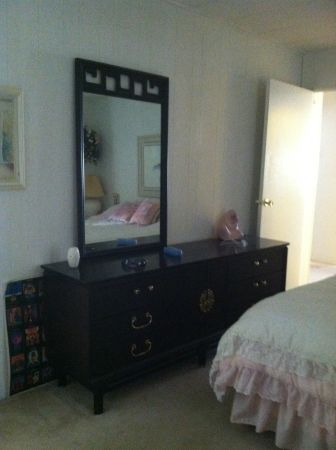
It’s a black lacquered dresser. Here is my advice when purchasing an item with the intent to spruce-up: DON’T LOOK AT THE DETAILS: focus on the shape and lines of the item, the quality of the craftsmanship, and the price (“If I mess this project up, is the learning experience worth the $65 I invested.” It probably isn’t if you paid $1,500).
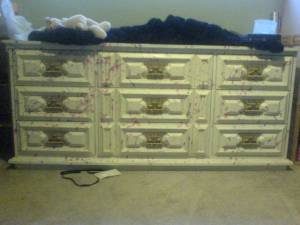
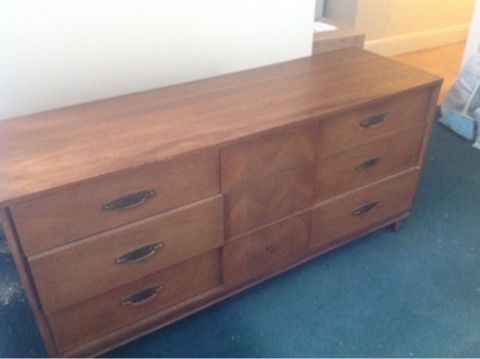
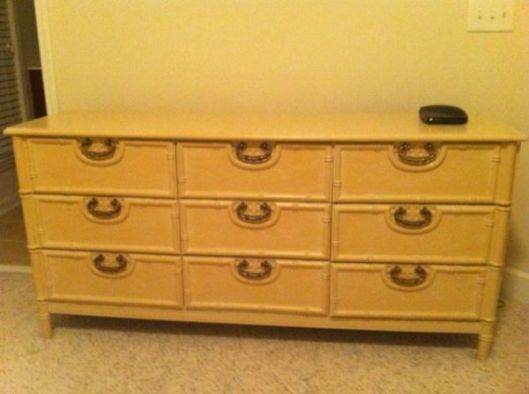
Firstly, here is the dresser I found for $45 on Craigslist in Los Angeles. 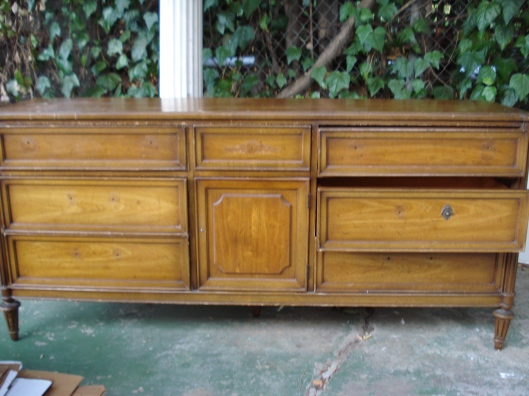
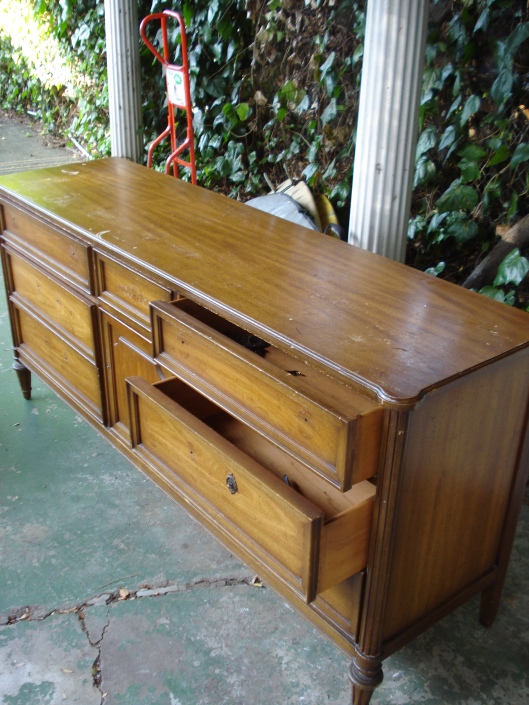 Knowing this grown dude lived with his mother and probably had her buying all his groceries and World of Warcraft gear, I knew he wasn’t strapped for cash. So I didn’t negotiate. If that extra $5 allows him to buy this sweet wolf shirt, then I’m making the world a better place.
But I digress…
I liked the size, I liked the different sized drawers, and I loved the price. Now all I needed was some sandpaper, primer, black paint, and HIGH GLOSS!
Here’s what inspired me. Bear with me:
It’s an amber fossil. You know what I’m talking about. High gloss, candy-coated. So, a black dresser would have been great, but I wanted a dresser that looked like if you touched it, it would shatter into a million pieces.
Here are the steps I took:
- Acquired dresser
- Cleaned with wet rag, even the nooks and crannies
- Sanded it down
- Paint with primer. Not sure I did this step, but I definitely should have.
- Paint with black paint. The brush I used was too cheap and left faint brush strokes. I am too impatient to have stopped, reevaluated, and start over. It’s fine, but not as PERFECT as I would have wanted.
- Painted with a clear polyurethane gloss. Dry. Paint again and again. To this day, I need to add more coats. The more coats, the more your dresser will look like a fossil. Or something like that.
- Add drawer pulls. Anthropologie has great sales. There are awesome ones on eBay that are sold in lots. We mixed and matched ours, but I think I’d rather have more of the same. It’s your decision!
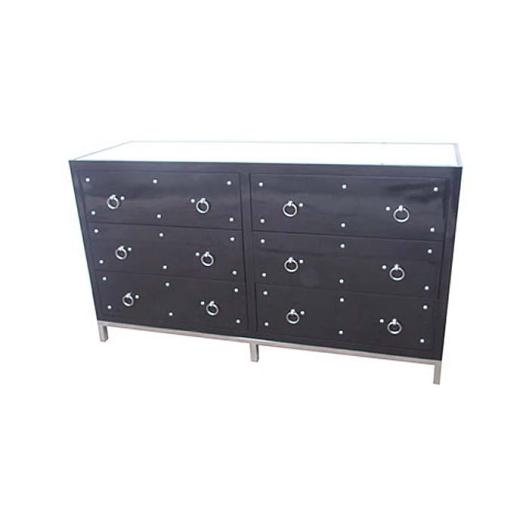
I have to admit, for $45 plus $20 in supplies, I really love it. And when you compare it to designer furniture sites, it’s a real steal. This one already sold, but the other furniture on the site are $$thousands$$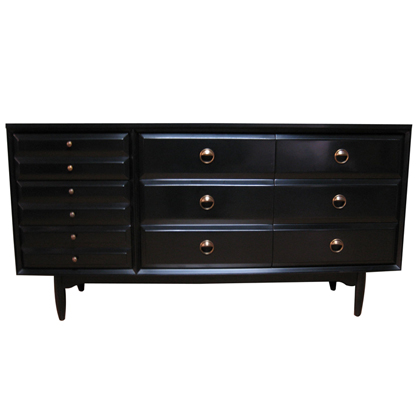
So, maybe you’re thinking, “Wallis, you were born with a special wizard gift of finding amazing deals and there’s no way I could do this myself.” You’re right. I am a deal-wizard. But here’s proof I could do this project several times over. YOU TOO can find a deal. Just scamper over to Craigslist, find your city, and use keywords such as: dresser, wood dresser, wooden dresser, big dresser, mod dresser, wood chest, wood drawer, etc. Craigslist and eBay are both slaves to keywords, so if you don’t find what you’re looking for, change your search terms. Add your price criteria and “has image,” and you’re off to a great start. Also, you’re going to need to buy an old truck like we did to transport your treasures. Or borrow one. Or hire a Uhaul. OR place an ad in the labor “gigs” section to have someone pick it up and deliver it (for $20 maybe?). Just make sure not to post in the “casual encounters” section. Then you’ll be murdered for sure.


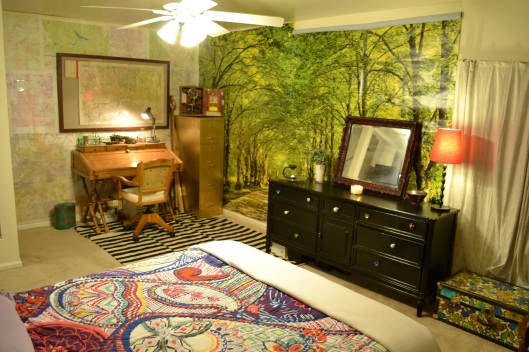
Thanks Wallis! I’m going to try this with an antique, marble topped, spooled leg table (on tiny casters) with a tile back-splash, that I “inherited” with the house. It’s current use is my sewing table and I know there are going to be many projects it its’ future, what with babies in days/years to come! I think you want to come and help me with this one too?