While watching Toddler and Tiaras for the first time last night, I had a few deep, deep thoughts. First, I definitely want my kids to be in pageants. Second, I realized maybe I should start giving a start-to-finish tutorial on a few projects. The third thought is none of your business.
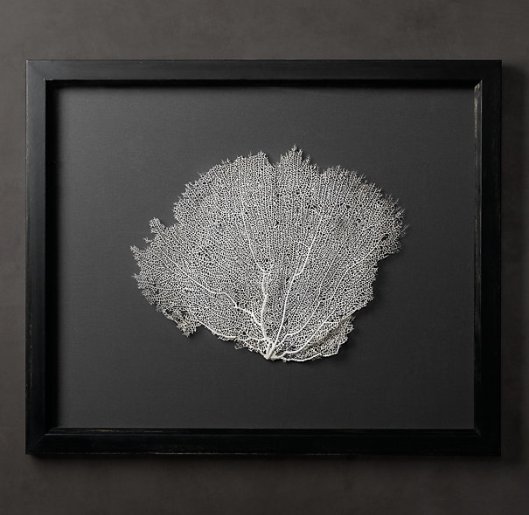
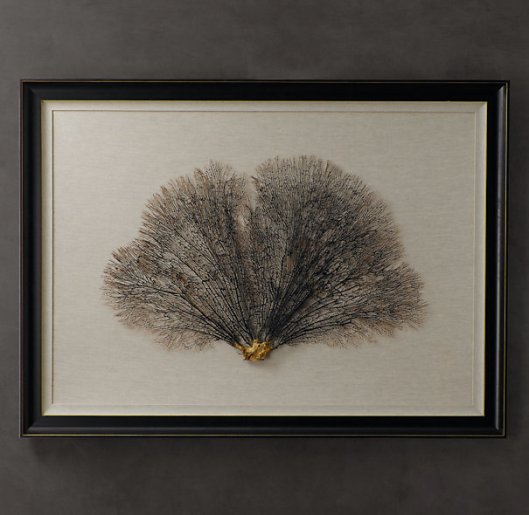
I’m obsessed with Restoration Hardware. I think it’s because it’s full of cool ‘found items’ and because it’s usually pretty masculine but with really feminine touches. For example, I found this awesome sea fan art and was shocked at how reasonable the $1,495 price tag was. I began to look up the components, and realized I could easily do this project for $40. Here’s the original $550 and $1495 version and then I’ll show you my $40 and your head will explode:
Really beautiful, right? So here’s what you’ll need:
- Ikea Ribba Frame (20″ x 20″ one = $19.99) Must have depth. My Ribba one is 1.75″ deep.
- Sea fan (TONS of these things on eBay. I’ll give links at the bottom to ones I’ve found). I bought mine for $14
- Paint, if you want a background color other than white.
- 1 tiny nail and hammer (normal size hammer. Tiny hammer not necessary)
- Thick thread (I have lots of upholstery thread and use it for most projects because it’s SO strong. Maybe it’s called carpet thread. I’ll give links for that too)
 Step 1: Ok buy a shadowbox frame. I used the 20.5” by 20.5″ by 1.75″ Ribba frame from Ikea. Buy whatever you want, but I thought this one was great. There are a few 12″ by 12″ options at Target, but these sea fans are kind of large. I like the large amount of matting on the Ikea frame. The actual working space is only 11.5″ by 11.5″
- AMAZING! They say you’ll get a similar fan to the one in the picture. I guess they’re just too busy to post an actual photo. Great price though
- Another great one!!!!!!!!!!!!!! Someone NEEDS to buy this one.
- A multi-color one. Someone else needs to buy this one
- I bought this one because it was just so pretty and maybe one of you want to commission a piece of art from me?
- Black and beautiful. I’d like to try a black sea fan with neon background. OOOH!
- Another black one
- Pink one
- Another pink one
- Pink–dimensions are large, but maybe you found a large shadow box?
- This one is more like a coral piece but I still really like it
- Big one (maybe you want to mount on a stand or put in a vase?)
- Another big one. SOOO pretty though! The sea fans are nice too (Hey oh!)
Ok you get the idea. So you have all your supplies. That’s the tedious part.
Step 3: Now, you’ll paint the background in the frame. I found my dark gray in the “oops” section at Home Depot. It’s Behr, but I tried to find the color and it’s been painted over. I tried to take off the paint with nail polish remover and felt like such a sleuth in the process, but also ended up taking off the ink of the sticker. I give up. Here’s my best estimate: Behr Beluga 770 F-7
Here’s where it might get a little tricky. After your background is dry, position your sea fan how you want it on the back. I took my one small nail and hammered 3 holes in places that looked like they would be hidden. Each hole was near a sturdy part of the branch (a thicker stem). Ikea’s is made of particle board, so it’s easy to get through. You don’t leave the nail in. You’re just making several hidden holes. A drill would be overkill in this situation.
The idea is that once you have a few holes, you’ll thread a needle with whatever color is similar to your sea fan. You will start from the back, thread up and around a branch, trying to make it as hidden as possible. After making the loop, you will go back through the same hole and up through another hole, doing the same thing. Each time you thread, make sure that the line is really tight. You want this sucker ON there! From the front, you shouldn’t be able to see the threading. The backside will look like a slight web of thread. I used upholstery thread (I use it for most projects). If you don’t know how to tie the knot on the back so that it’s big enough to not slip through the hole, just tape the end down and then you can tie it to the other loose piece when you’re all finished.
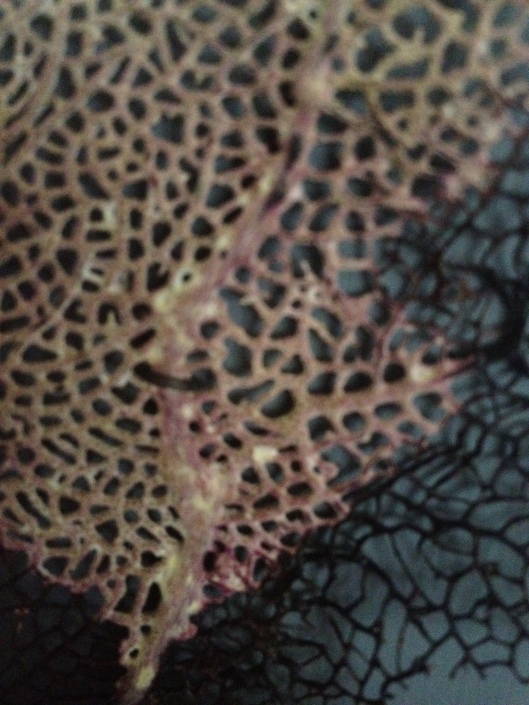
Any questions? Here are a few shots of how the string is tied to my sea fan. Maybe they’re easy to see up close, but I had to look for a second to see where I’d tied it on. If you scroll back up, you definitely can’t see the string. That vertical black mark is not my string, but part of the fan’s natural markings.

So once it’s affixed, you’re done! Put the frame back together and enjoy. It’s really a simple project and it will look really great. And you’ll save yourself $1,455.
Now, someone please buy the black sea fan and put it on a neon pink background. Maybe I’ll beat you to it!
If you are interested in having Sea Fan Art but not in doing the project yourself, please contact me at WallisLevin@gmail.com


Wallis, I love your sarcasm… it makes me smile. Don’t stop doing what you do best!
Wow! Your finished product is gorgeous. I may have to commission one.
Love the blog!!
Ok, I’ll commission you. Or maybe you could consider it an early 30th birthday present? Jk, kind of 🙂
I wish I had a tiny hammer. Just because.
I think your sea fan art looks way more amazing than the other guys!! Totally rockin. And $1,495?? That’s just cray cray. Good work!